If you’re looking for a happy-clappy everything-went-perfect DIY inspirational story, better keep looking! (Although in this story, we do live happily ever after in the end.)
For “Fix a Leak Week” I was armed and READY. Before we discovered it, our running toilet leak had caused us to lose about 6 gallons of water an hour, every single hour, around the clock…or, 144 gallons per day, which would be enough to add one Australian to my household.
This seemed the perfect opportunity to install a dual-flush retrofit kit. For $28.00 from Amazon.com we’re poised to be as cool as a hip, pseudo-European hotel! The One2Flush is SIMPLE TO INSTALL, and says so right there on the box.
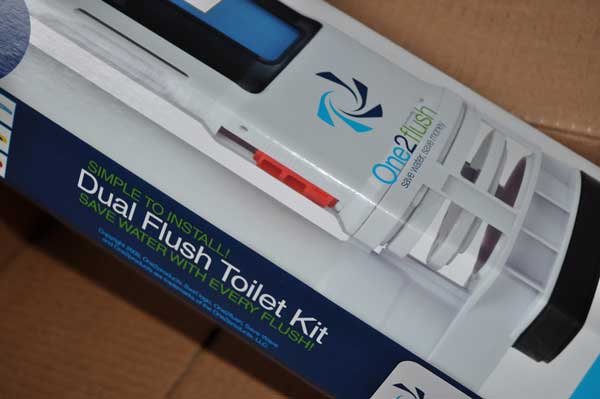
It’s 8:30 am and I’ve got all my tools and supplies laid out as neat as a surgeon’s tray. I’m a little worried that the One2Flush box looks like it has previously been opened; there’s only basic instructions on the box, which directs us to an online video for more detailed guidance.
Get real, who the !@#$# can work on a toilet while following video instructions online? Whatever, we’ll wing it. After all, this isn’t my first toilet repair dance.
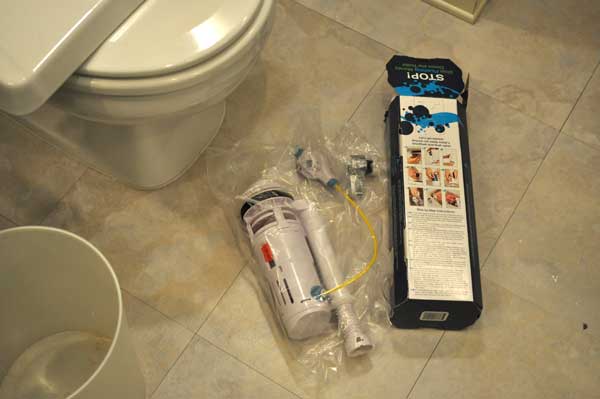
So let’s get at it—the daughter tells me she’d like to take a shower and I assure her I’ll certainly be finished in an hour or so.
First, I turn off the water supply valve on the wall and begin sponging out the excess water from the tank and the bowl.
Strange…I’m sponging and sponging and sponging but STILL there’s water the in bottom. Hmmm. How can that be, with the water supply valve turned off?

Aurghhh, I see why when I remove the supply line from the tank, it’s because the supply valve also has an !@#$# leak! I scramble for MORE old towels because the !@#$# water is spreading all over the floor! Suddenly it’s a Fix a Leaks Week celebration extravaganza!
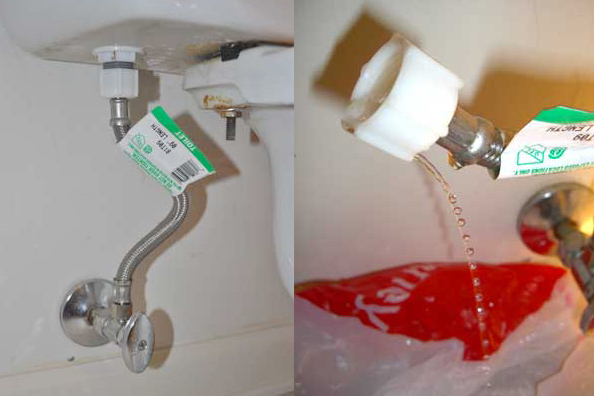
Tough up, team! This unexpected setback will not defeat us but we will now work much faster. So I loosen and remove the disgusting bolts connecting the tank and bowl and lift it off. Observation: the areas behind, between and underneath this 80s-era toilet tank have never, never, ever been cleaned. I feel a little sick.
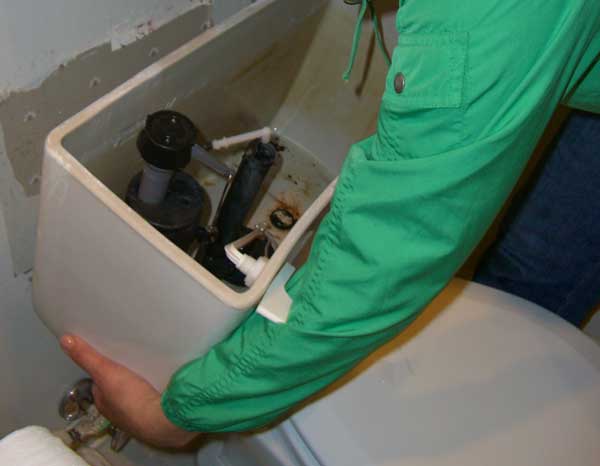
I plead for the spouse to bring some hand sanitizer. Next I lay the tank over across the toilet seat and remove the so-called “valve nut” from the bottom of the tank. Or, try to. This thing is ON TIGHT and I don’t happen to have a wrench the size of my fist.
So instead, I employ the DIY-ers secret ace weapon: brute force. I knock it for a bit with a hammer and screwdriver until it loosens and I can remove it. (Note in the photo, !@#$# leak number 2 is dripping away into the tank lid.)
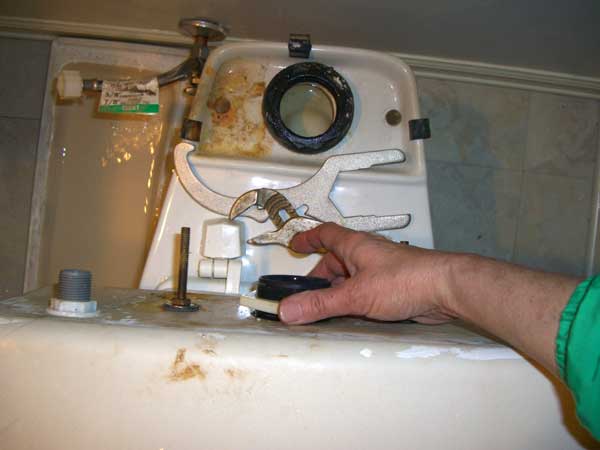
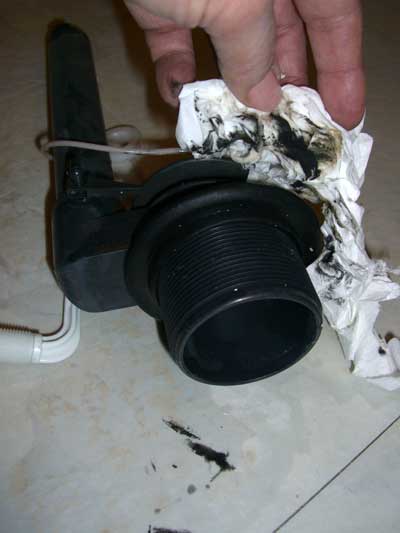
OK! Now I can remove the old hardware in the tank, along with the old flush handle assembly. GAG, what’s all that black slime everywhere? It is the by-product of this disintegrating seal, the evil source of my original leak!
Nasty! Now I have to stop and clean up all that black goo from my hands, clothes, floor and toilet bowl. Aurghh, I am TRASHING my fresh manicure!!!
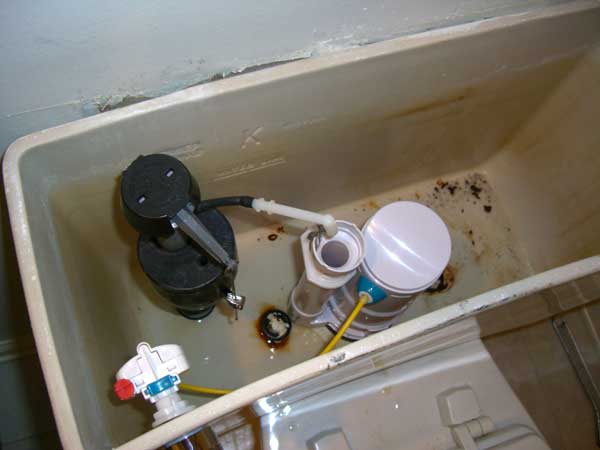
With the clock ticking and the supply line dripping, all this picture-taking was becoming cumbersome, so here we’ll just skip ahead and to where the praise and accolades rain down. (You can watch the aforementioned video if you’re curious!) Here’s my new dual flush retrofit, installed and ready to go, with only a couple minor hitches getting it in!
All that’s left to do is tighten up the tank bolts, reconnect the water line and triumphantly open the floodgates! Turn that water on, yea! Look at me, baby, I “Fixed a Leak!” Woot Woot!
Water on! I’m proud and mesmerized as I watch the tank fill and can’t wait to try it! Almost full…done! Uh…wait. What’s that? I can hear it: drip….drip….drip. What the !@#$#, THE TANK IS LEAKING!!! FROM AN ENTIRELY NEW PLACE, RIGHT ONTO THE FLOOR! ON THE OPPOSITE SIDE OF THE ALSO LEAKY SUPPLY LINE!!!
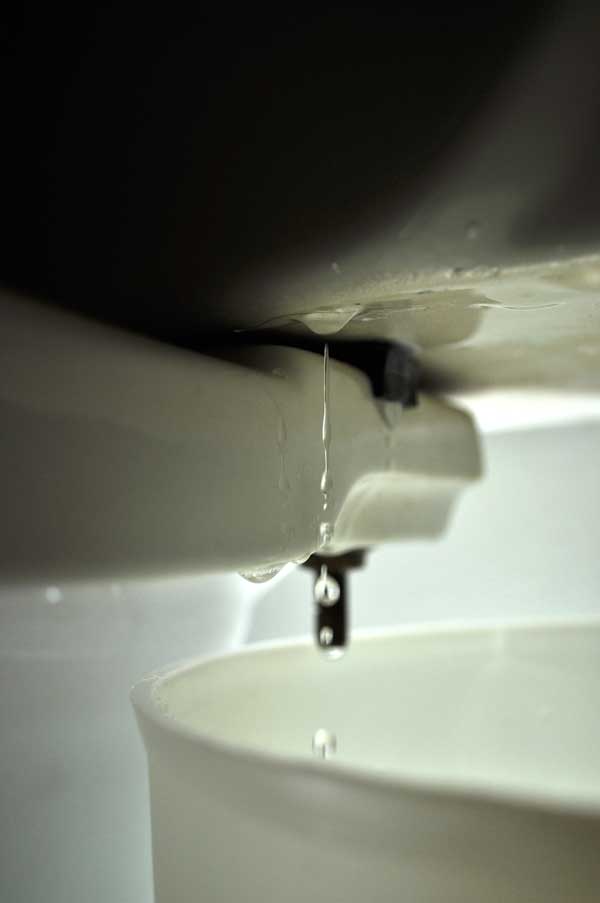
And now I see it. THE CRACK. I CRACKED THE !@#$# TANK! I over-tightened the bolts and it CRACKED THE !@#$# TANK!!!
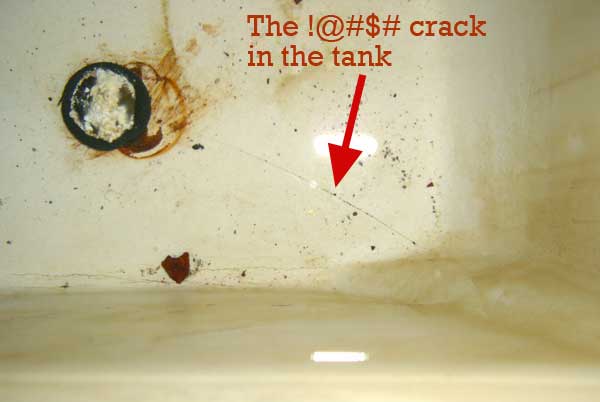
I shamelessly howl and moan. So now what? Turn the !@#$# water off again. More towels. More profanity. I’m Googling “how to fix a cracked water tank.” And it doesn’t take long to determine that this is a fatal error. It’s nearly impossible to repair a cracked tank, and newer toilet designs mean I have to replace the entire toilet and not just the tank. So the next step…
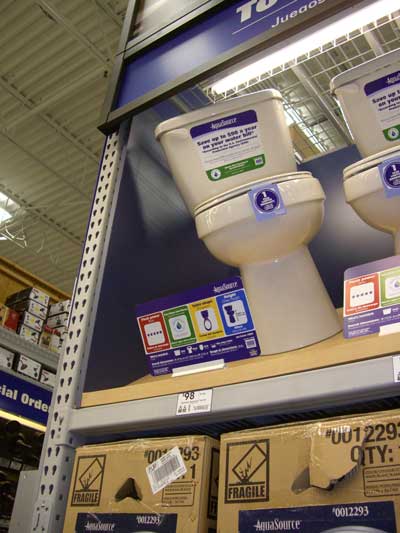
At my neighborhood big box, the cheapest dual flush is $250 so this got-it-all model for $98 is looking pretty good–5-star flush performance, elongated, comfort height, Water Sense. And hopefully, leak free.
So to summarize: 3 leaks, 7 hours, $138.00, 2 trips to the big box, dozens of profanities, ruined manicure; and in the end, leaks fixed.
So you could say I was ultimately successful, but next year around my house we’ll be celebrating “Call a Plumber Week.”
Oh, and in case you’re wondering…before removal, I did test out the short-lived dual flush…and it did seem to work as advertised, !@#$# crack and all.

 THIS IS MY DAM COSTUME THIS YEAR: Thirsty in Suburbia exclusive! I made this for myself on Cafepress…perfect thing for recession trick or treating around your local Hooverville. (While I was at it, I made a shop so you can get one, too! Yes, I know, it’s expensive…but who can put a price tag on this level of awesomeness? Check out the mug, too! http://www.cafepress.com/thirstyinsuburbia).
 TOUGH YEAR FOR MERMAIDS: This costume won the 2008 Etsy Costume Contest in the Green catagory. Your 2010 interpretation could be even more timely with sad-funny BP references. Find a thrift shop prom dress and get busy! Great way to recycle that old motor oil. Source Link

